NOTE: If you link, please let me know. I would just like to know where this is showing up.
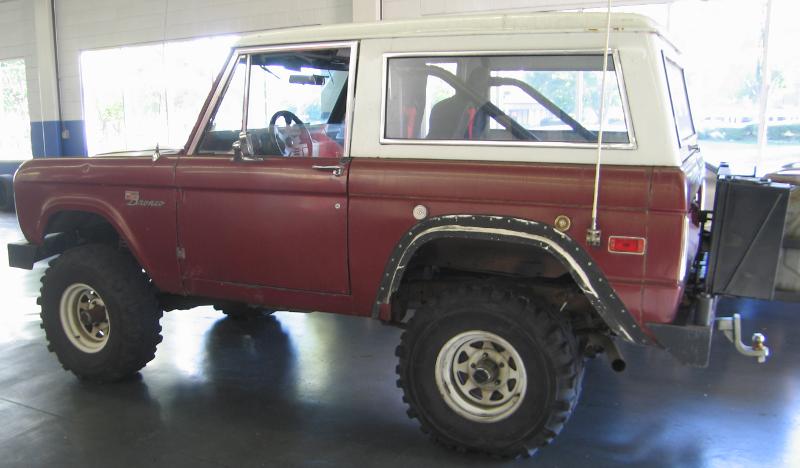
After 15 years of reliable service, I decided to retire my old white 'wagon wheel' rims and throw on a set of Ansen-style aluminum slotted rims. I found a set online and took the plunge.
Figure 1. Original wheels
Seeing that these rims were 70's era, the surface of the metal was certainly showing its age. Before mounting the wheels on the Bronco, I decided that it was the perfect opportunity to clean, polish and protect the aluminum. The whole procedure tool approx 5 hours per wheel.

Figure 2. Aluminum wheels with a few decades' worth of weathering ( top side)
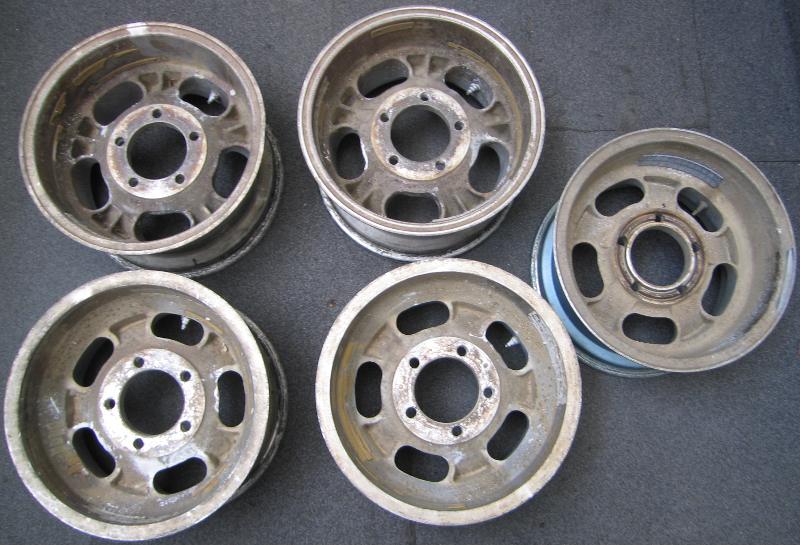
Figure 3. Bottom side
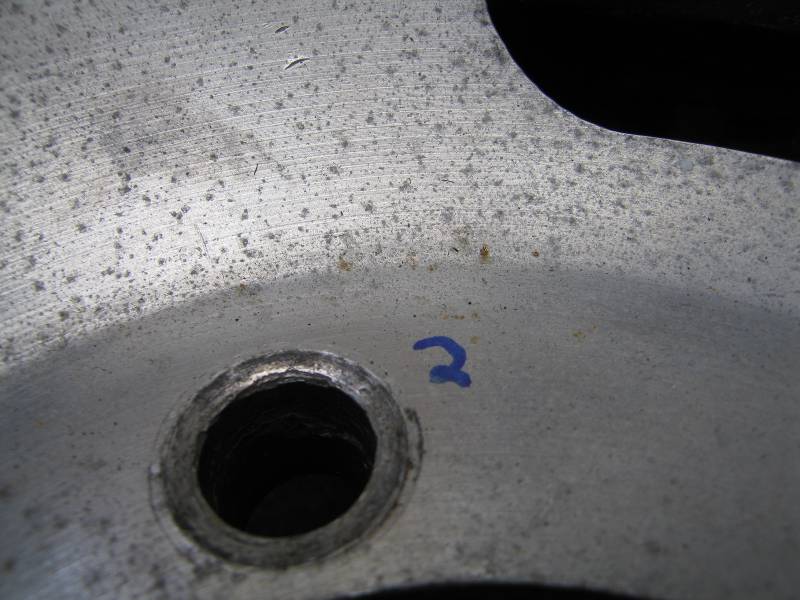
Figure 4. Close-up machining lines
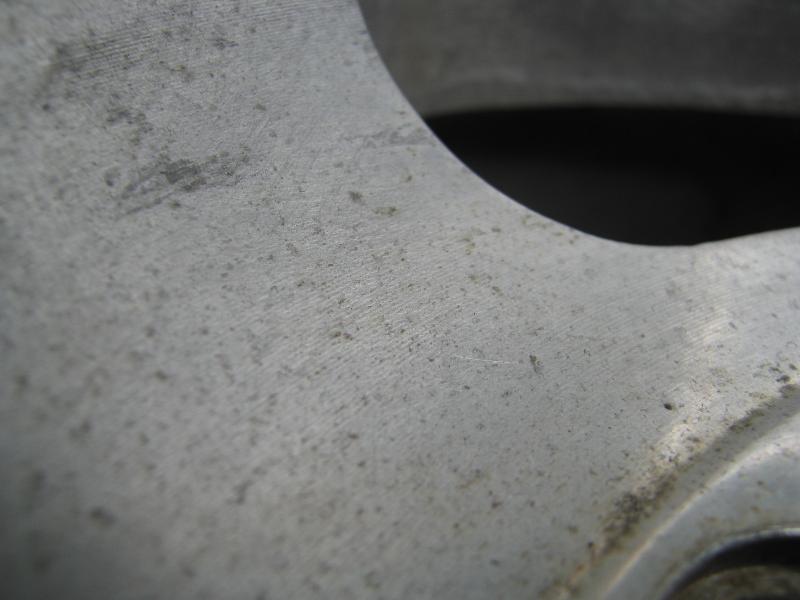
Figure 5. Close-up pitting
After a little work with just the polishing wheel and rubbing compound, it became obvious that I needed something significantly more aggressive than just the rubbing compound.
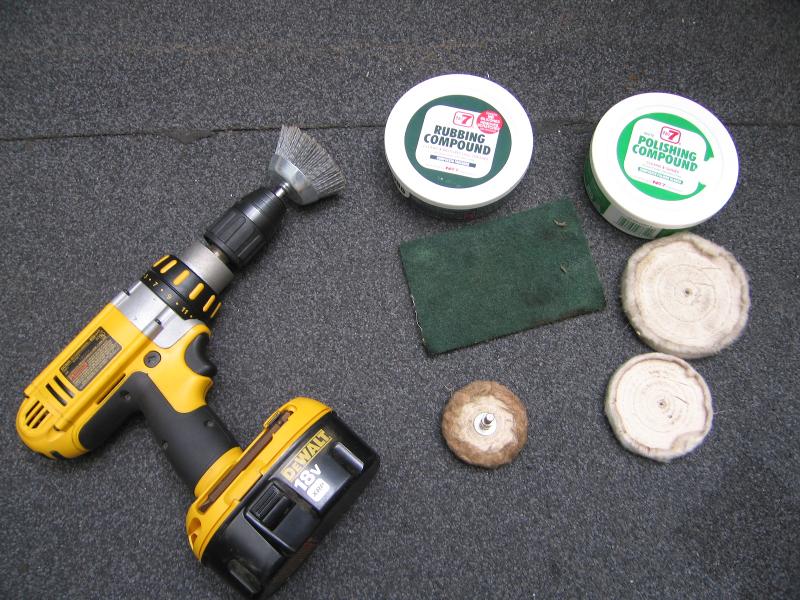
Figure 6. Initial tool compliment
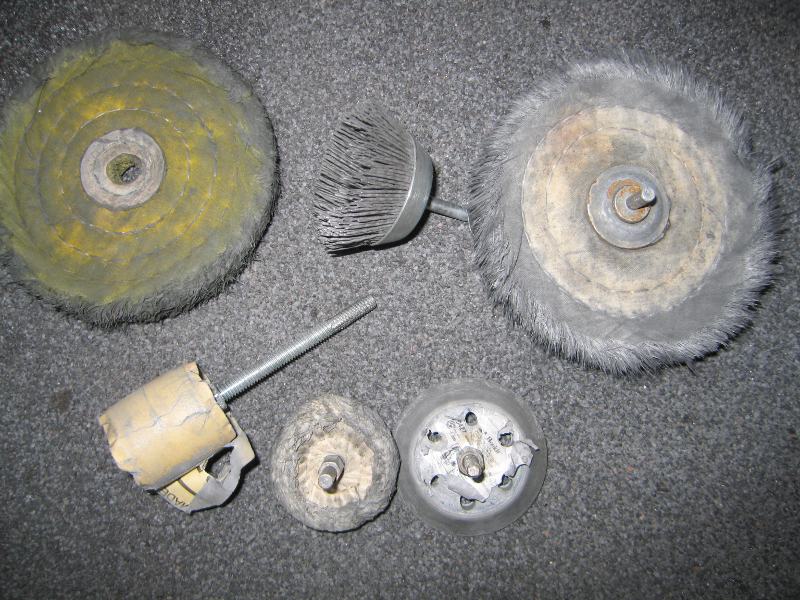
Figure 7. Extended tool compliment
After much research, and little cohesive information on the web, I was able to piece together a procedure to clean and polish the wheels. The surface of each wheel went through 5 steps of 'treatment'.
The first order of this project is to remove any casting imperfections in the wheel. The 'kidney-bean' shaped slots had variant degrees of extra metal that needed to be removed. I decided to utilize a round grinding stone attached to a drill to remove the coarse material
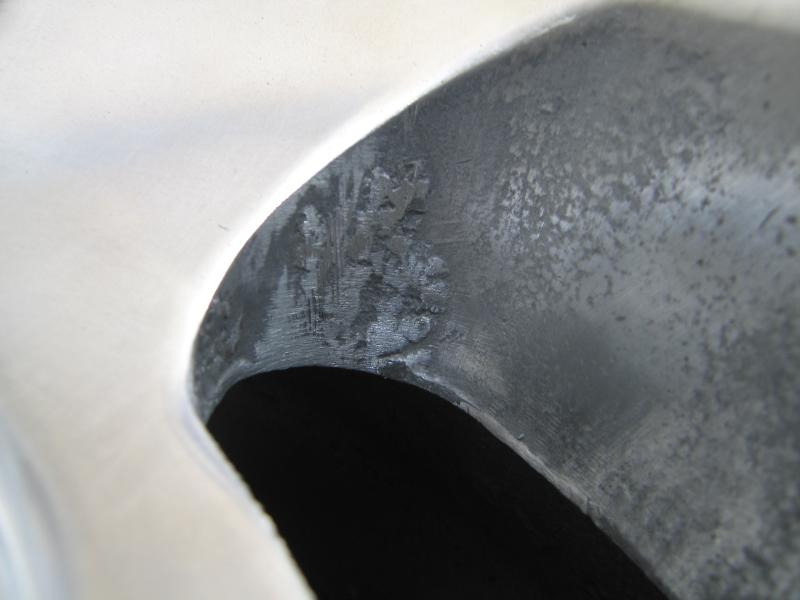
Figure 8. Initial coarse material, perspective 1
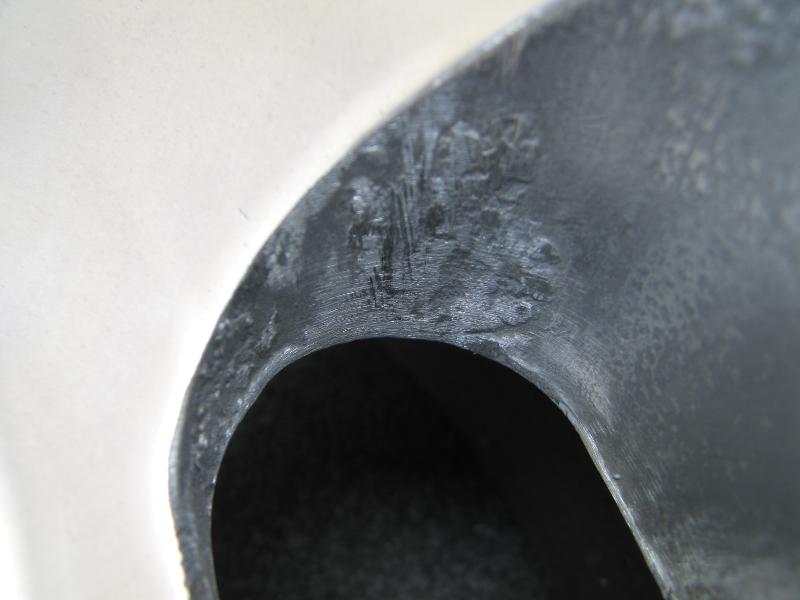
Figure 9. Initial coarse material, perspective 2
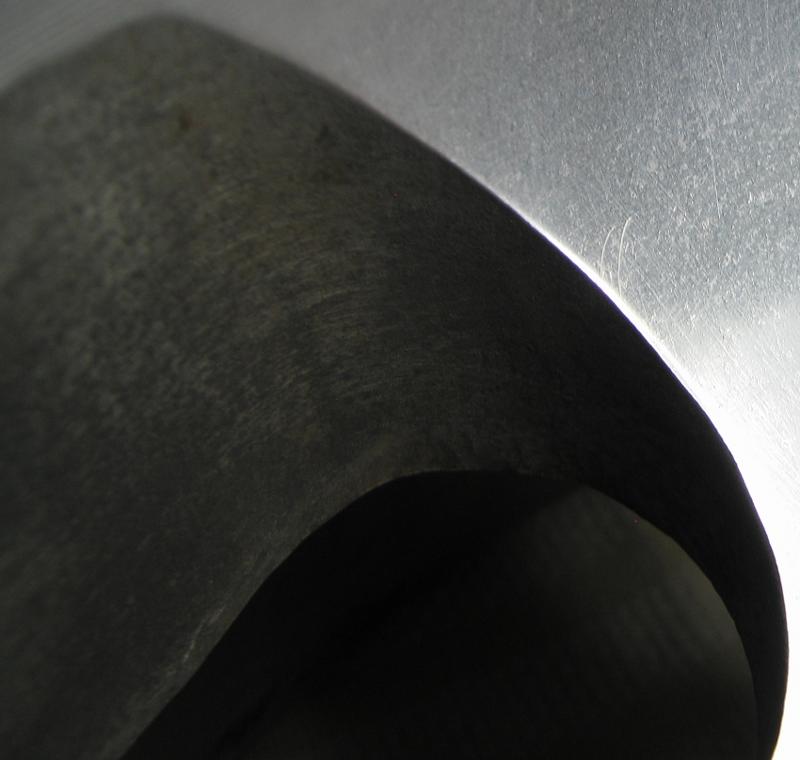
Figure 10. Initial coarse material, perspective 3
Once the coarse material was removed, I developed a specialized drum sanding attachment to sand down the coarse grinding marks. The concept is simple; using a 5" left-hand-thread bolt, I compressed 2 expansion plugs to create the base of the drum. As an adhesive, I used double sided carpet tape to attach cut-to-size sandpaper which was wrapped around the drum. I could not find pre-made sanding drums in the 1.25" size with fine grit ratings (finer than 220). It was a slow process, but better and faster than sanding by hand. It is difficult to get a flat finish, unless you have a machine to keep the drum for vibrating. Going slow taking your time will minimize the 'wavy-ness'.
Lesson learned: Tighten the bolt compressing the drum just enough to compress the rubber, then add 2 more turns to make it nice and snug. THEN use a jam nut to make sure the drums do not over tighten and expand. I had the issue where the drums would expand and contact both top and bottom of the kidney bean. This caused issues with me taking off too much material and grinding grooves into the bean. Fortunately, I learned that lesson on the wheel for the spare.
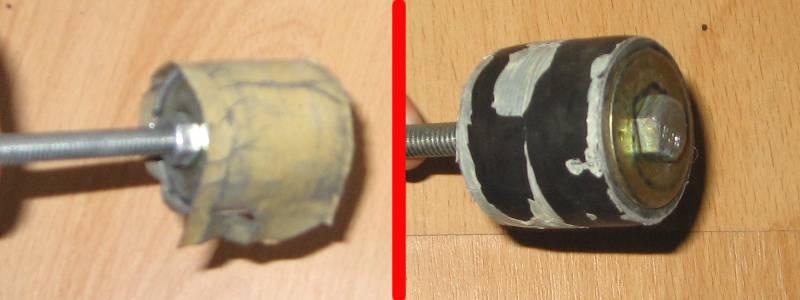
Figure 11. Drum sanding tool
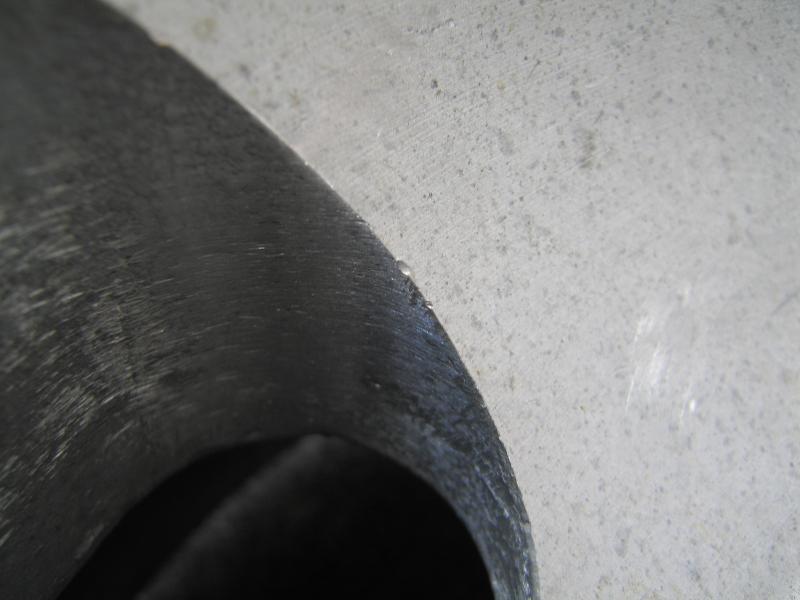
Figure 12. Sanded with 400-grit-perspective 1
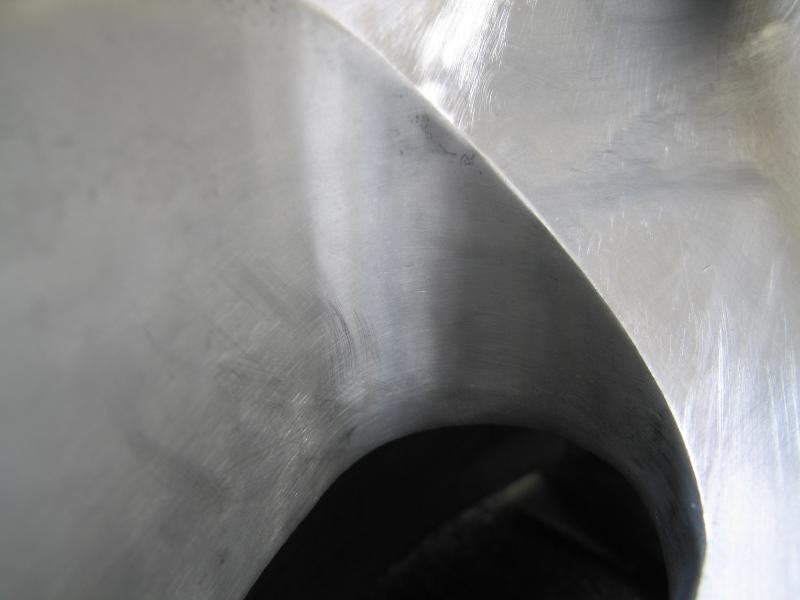
Figure 13.(no picture for 800-grit) Polished with rubbing compound, perspective 1
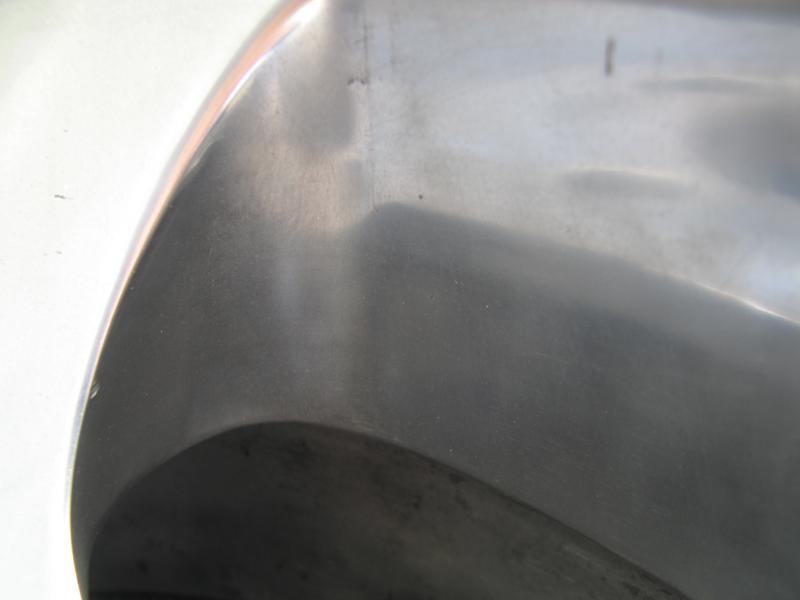
Figure 14. Polished with rubbing compound, perspective 2 (wavy-ness shown)
After the first round of sanding with the 400, the wheels look remarkably shiny. Nowhere near finished, but just better. Using the abrasive disks definitely took some practice. I never was in fear of damaging the aluminum, as long as I went slowly and took my time. However, after about the 3rd wheel, I definitely discovered a technique that would make sanding in the subsequent stages easier, AND would allow the sanding disks themselves to last longer.
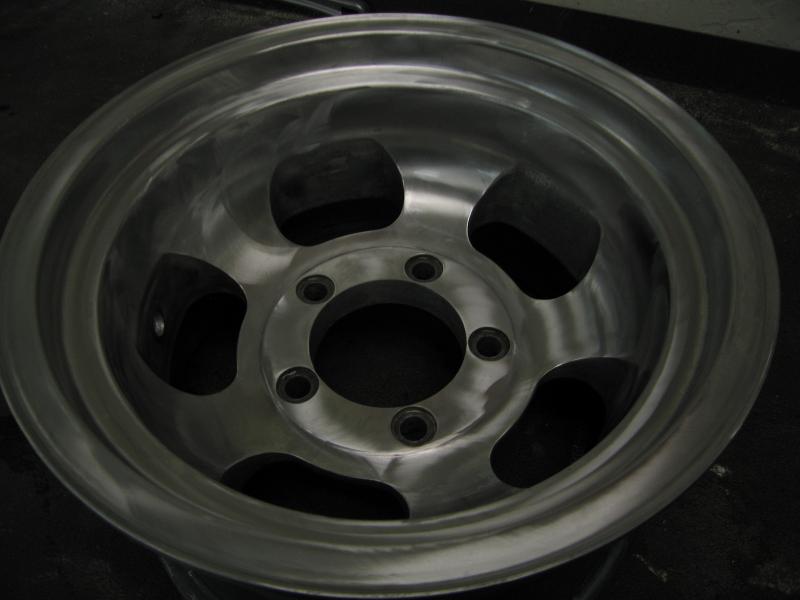
Figure 15. After 400-grit sanding, perspective 1
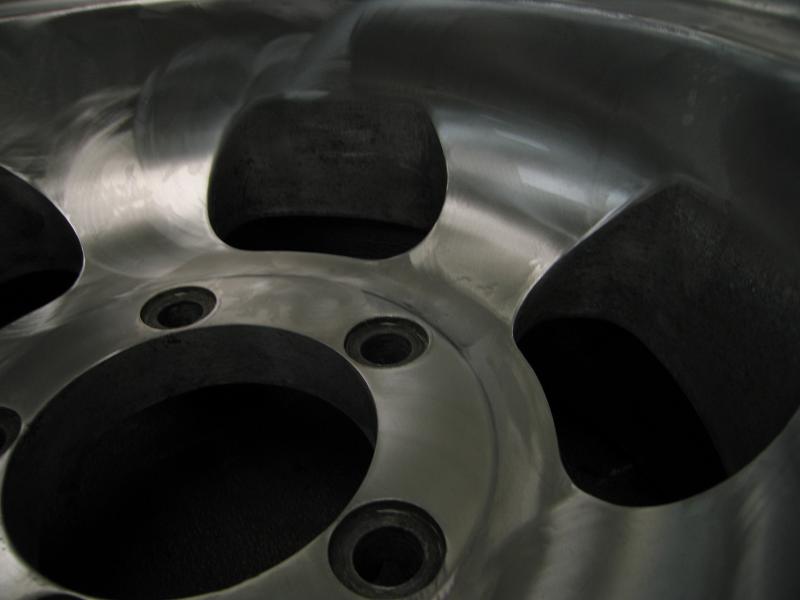
Figure 16. After 400-grit sanding, perspective 2
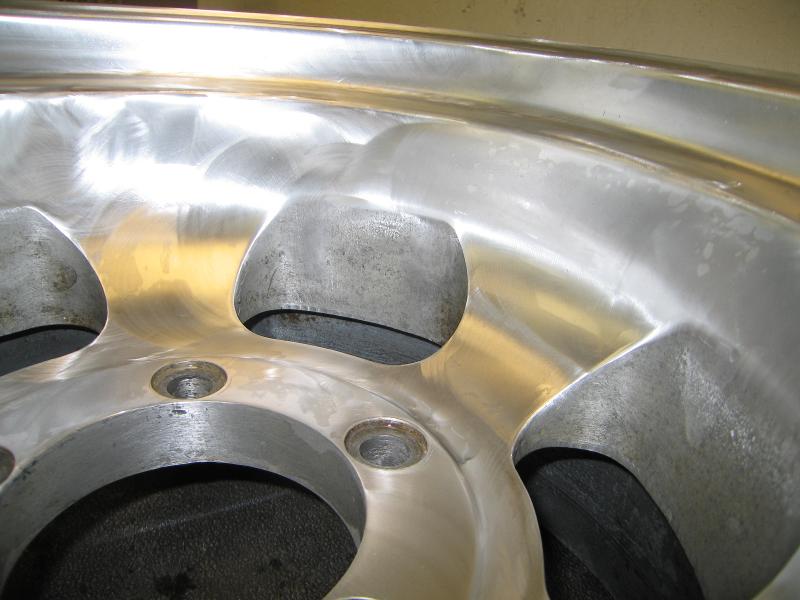
Figure 17. After 400-grit sanding, perspective 3
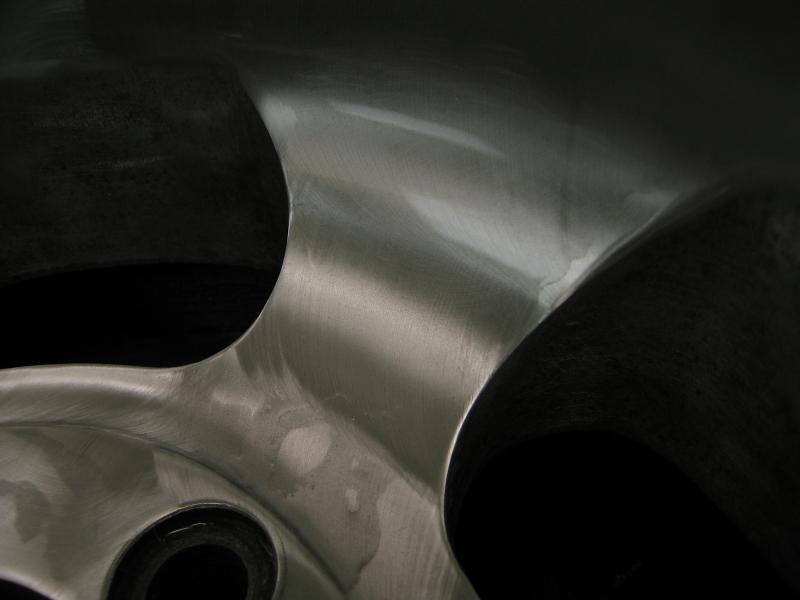
Figure 18. After 400-grit sanding, perspective 4
Lesson Learned: Sand from middle towards outside, making sure that the sanding wheel is never rotating into the work piece ( meaning, that when the rotation happens, the abrasive pad is in contact with the aluminum first, then rotates into free space). If you DO rotate into the work piece, abrasive pad binding will occur, resulting in a disk that will need to be prematurely changed. In the figure below, the red represents the sanding disk, and the yellow represents where you would put pressure on the disk.
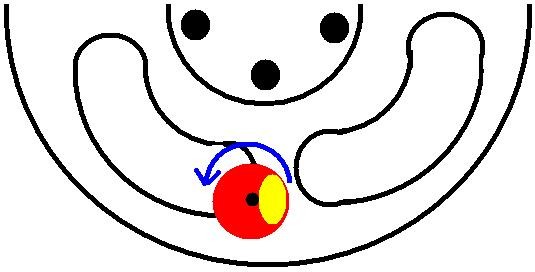
Figure 19: Sanding direction.
I decided to sand the wheels dry when using the 400-grit sandpaper, which seemed to work pretty well. When finished with this stage, I used compressed air to blow off the aluminum powder from the sanding and wipe the excess off with a paper towel.
As a test, I decided to wet-sand a section of 1 wheel using the 800-grit sandpaper. I discovered that this was unnecessary at this stage, as the 800-grit did not easily get fowled with the aluminum. I re-sanded the test section, and the remainder of the wheels dry. The figures below show the removal of the 400-grit sanding marks, and a further refinement to a clean shine.
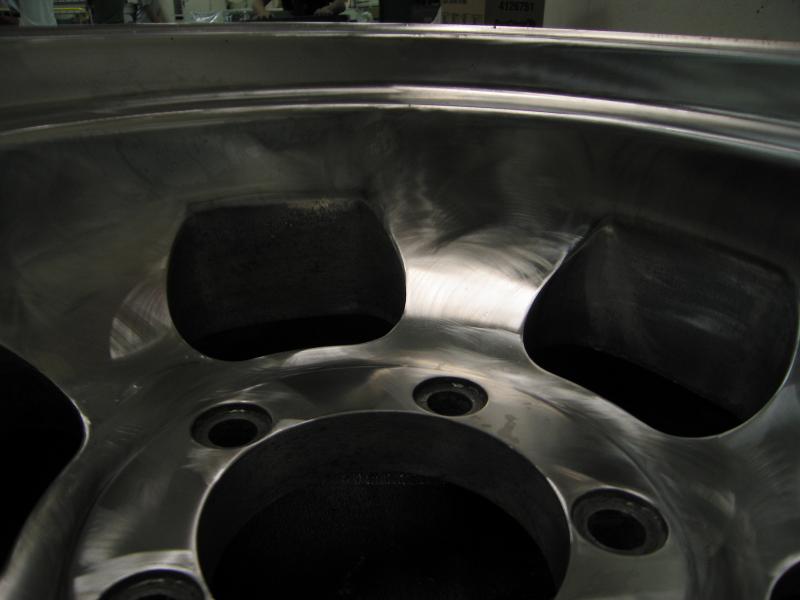
Figure 20. After 800-grit sanding, perspective 1
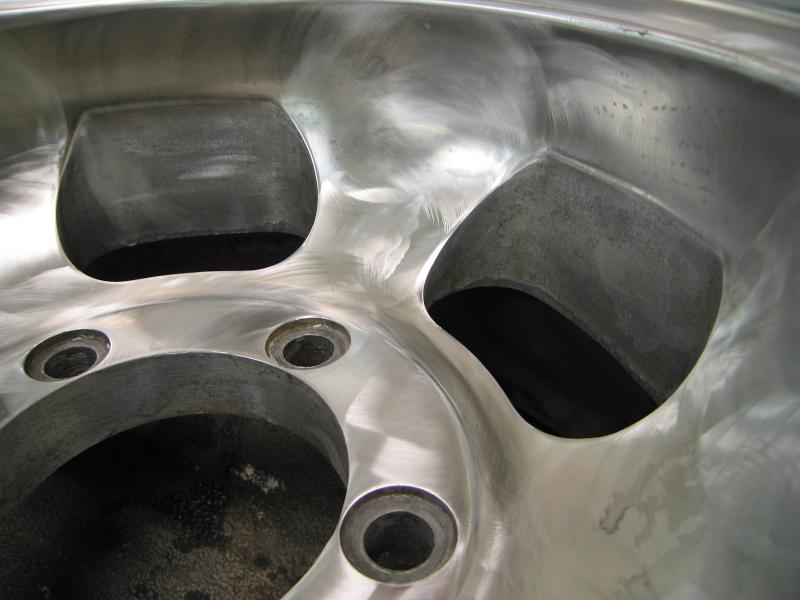
Figure 21. After 800-grit sanding, perspective 2
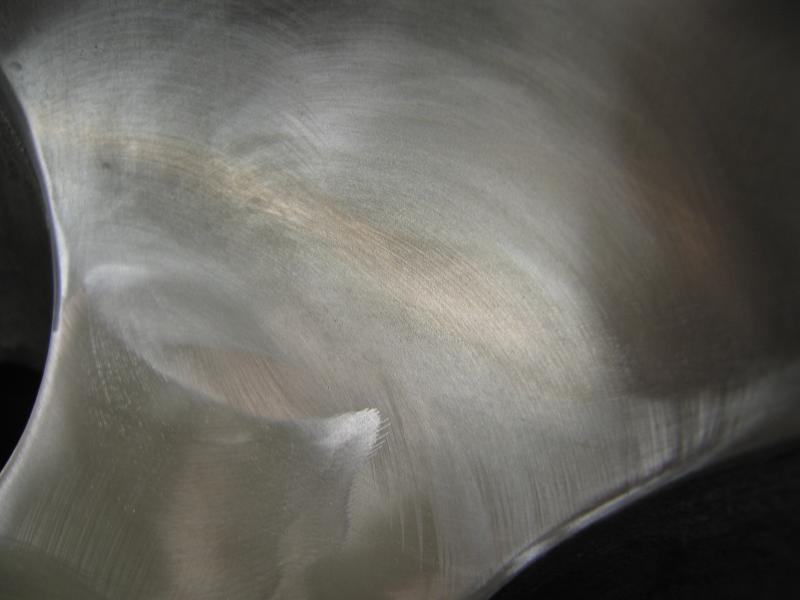
Figure 22. After 800-grit sanding, perspective 3
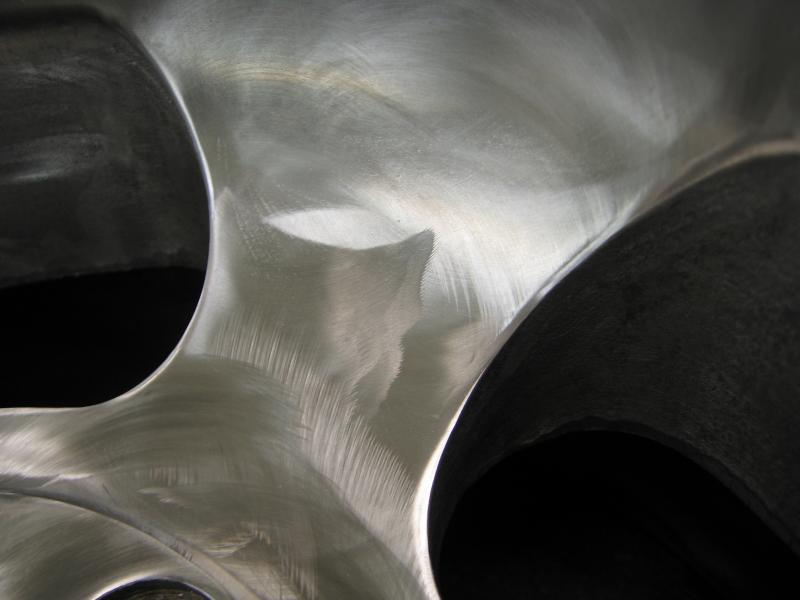
Figure 23. After 800-grit sanding, perspective 4
Sanding with 400 and 800 grits, I used a drill-powered abrasive disk. With the 1200-grit, I discovered that drill-power was not suitable AND wet-sanding was necessary. By using drill power, the sandpaper would rapidly clog ( even if wet sanding) and would re-introduce scratches larger than 800-grit. By hand, I removed all the 800-grit sanding marks. This was not too bad, as all the major work was done by the 800-grit sandpaper.
After washing off the removed aluminum powder, it was time to apply rubbing compound to the wheel. I used the No. 7 Rubbing Compound for this stage. Take your time and move in a constant and repeated fashion around the entire rim. I recommend starting toward the center and working your way out
Learning lesson: DO NOT coat the rim with the rubbing compound. I tried this and the aluminum never really became shiny... I found that the best result was to have a semi-moist buffing wheel, and to use about a 1/2 tablespoon's worth of rubbing compound for the whole wheel.if you can squeeze compound or water out of the buffing wheel, you have too much of both.
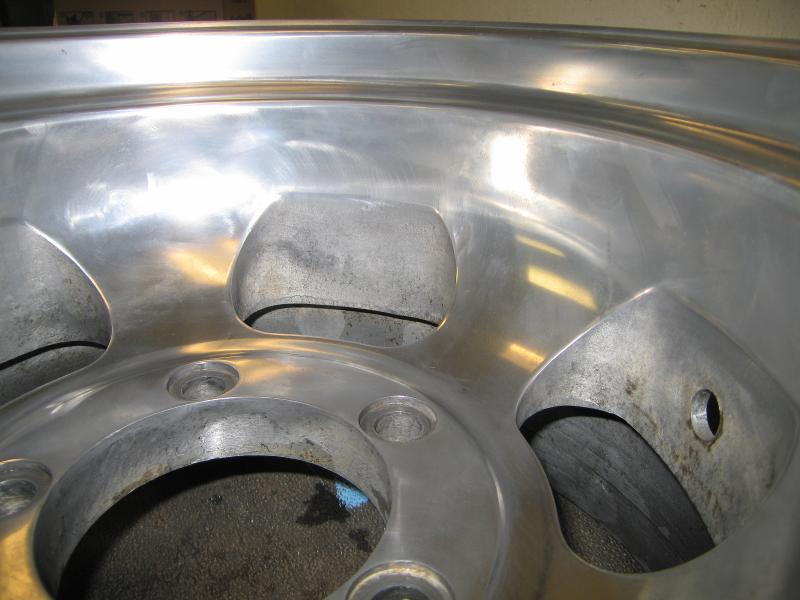
Figure 24. After rubbing compound, perspective 1
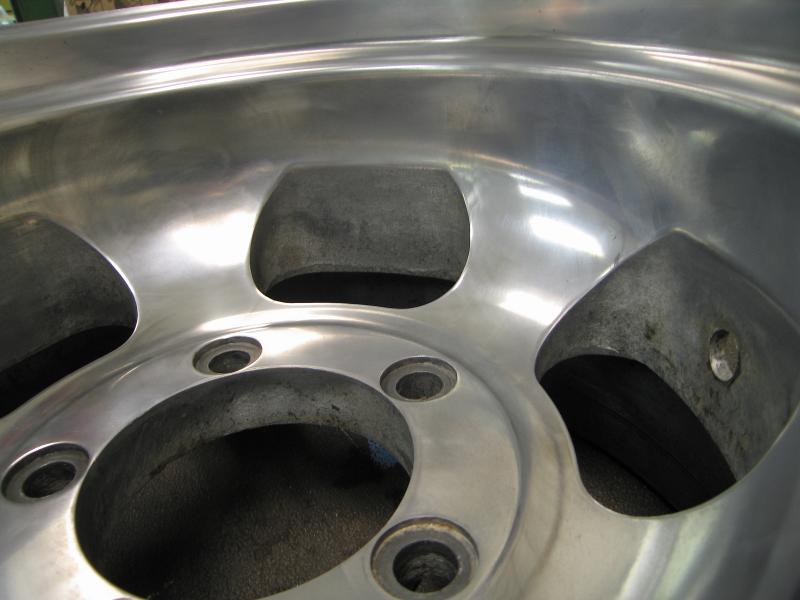
Figure 25. After rubbing compound, perspective 2
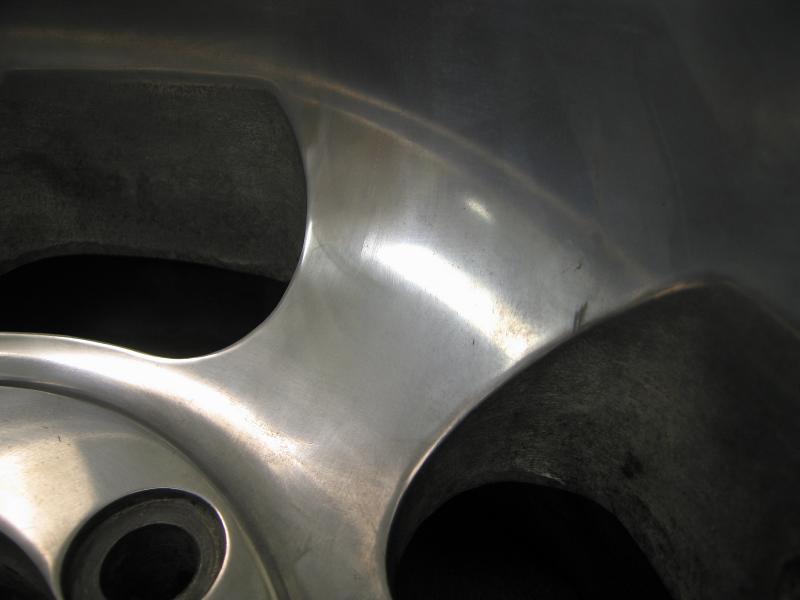
Figure 26. After rubbing compound, perspective 3
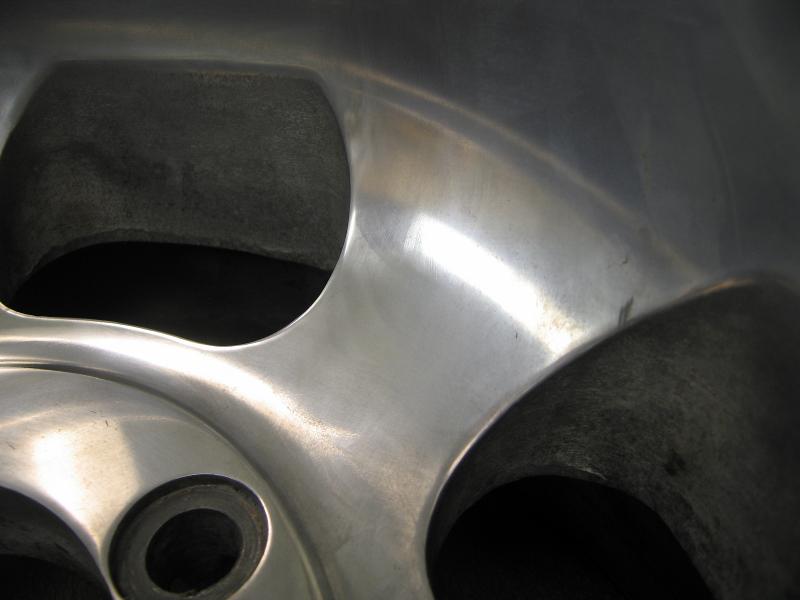
Figure 27. After rubbing compound, perspective 4
Ensure you thoroughly wash the rim removing any residual rubbing compound. In the final stage, the No 7. Polishing Compound should remove any marks left behind from the rubbing compound. As with the rubbing compound, do not use too much polish, as this will not produce the desired shiny effect.
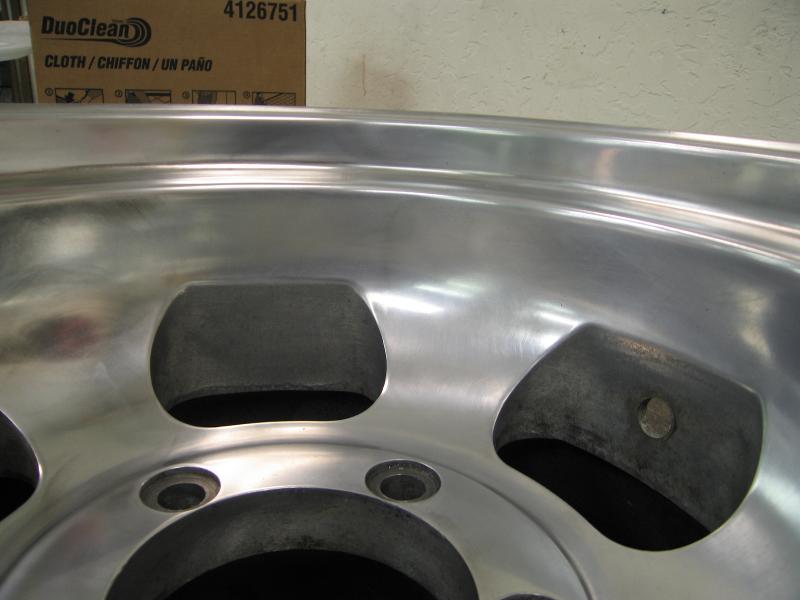
Figure 28. After polishing compound, perspective 1
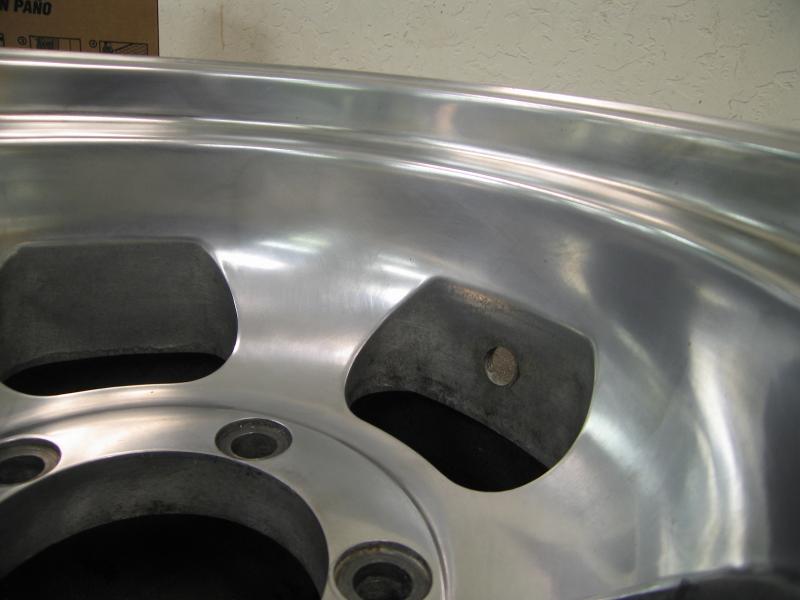
Figure 29. After polishing compound, perspective 2
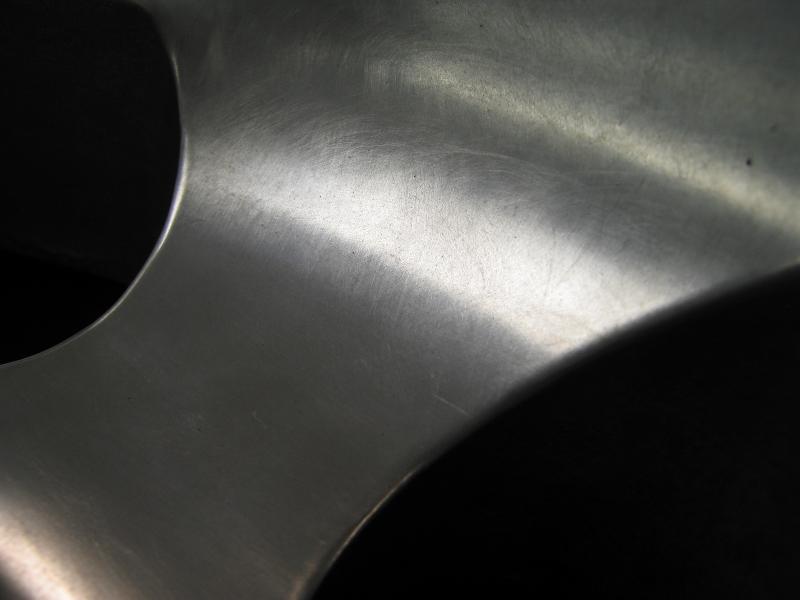
Figure 30. After polishing compound, perspective 3
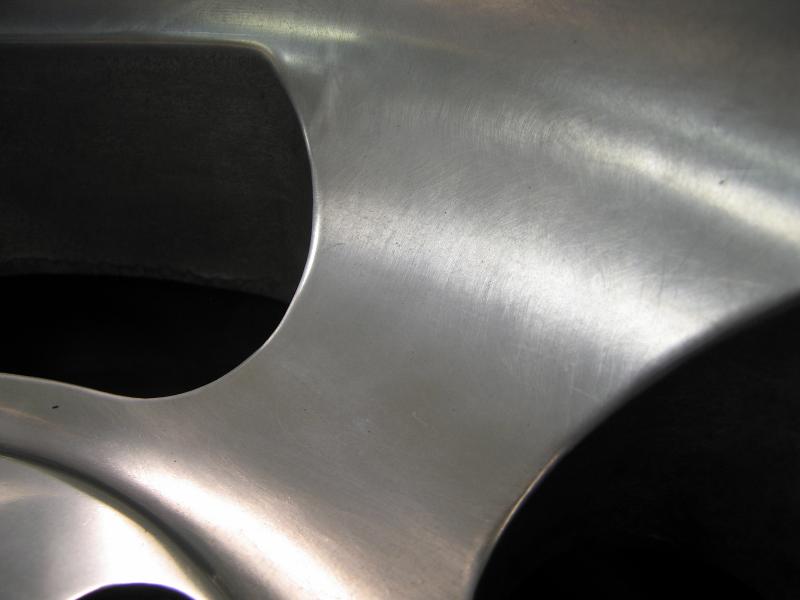
Figure 31. After polishing compound, perspective 4
When all said-and-done, the rims turned out pretty well! As you can see, the wheels shined up pretty well. Some moderate pitting was still present on one of the wheels, but a significant amount of aluminum would have needed to been removed to take out the pitting. I decided that it was acceptable and decided to use a marine varnish to coat and protect the wheels from future corrosion.
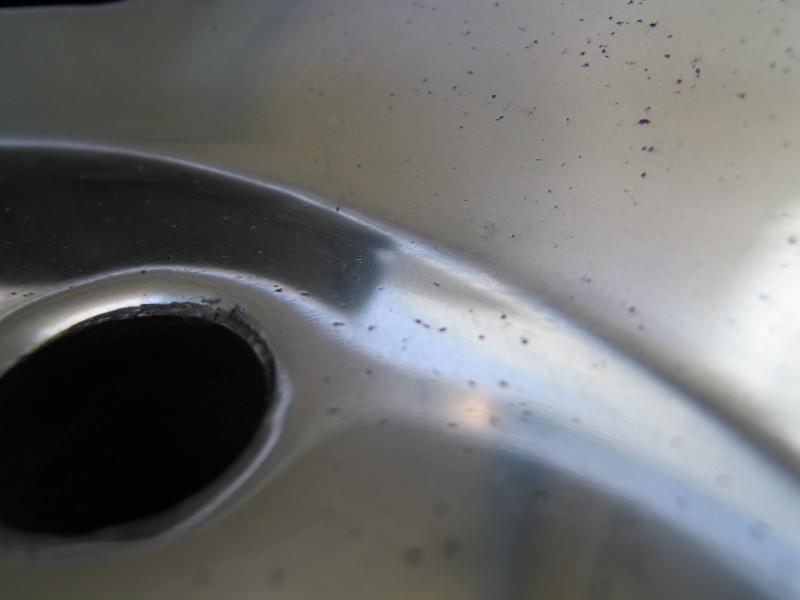
Figure 32. Moderate pitting.
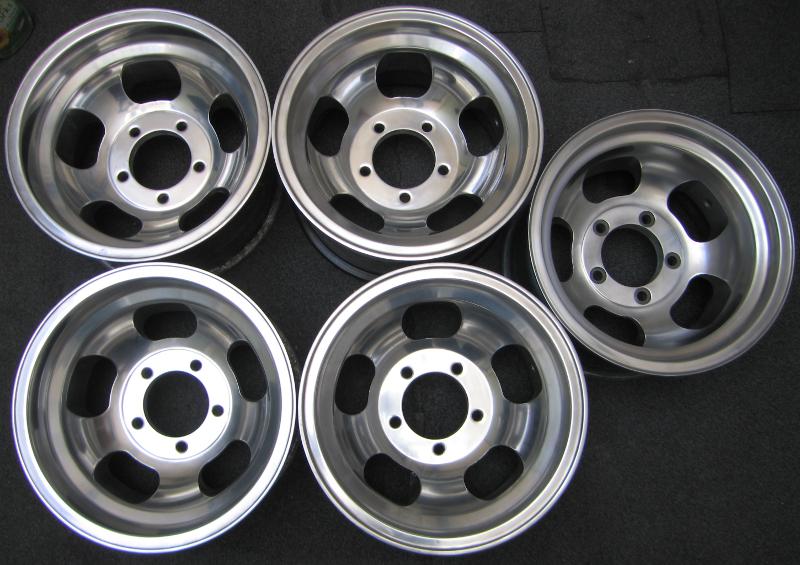
Figure 33. All wheels polished!
After mounting, I would say that the wheels turned out pretty good! I am happy with the result and the shine will hopefully last as long as the varnish.
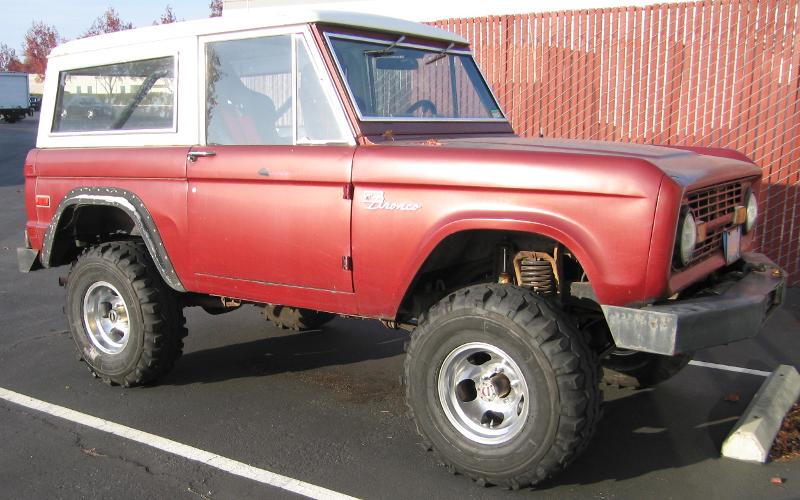
Figure 34. Mounted wheels
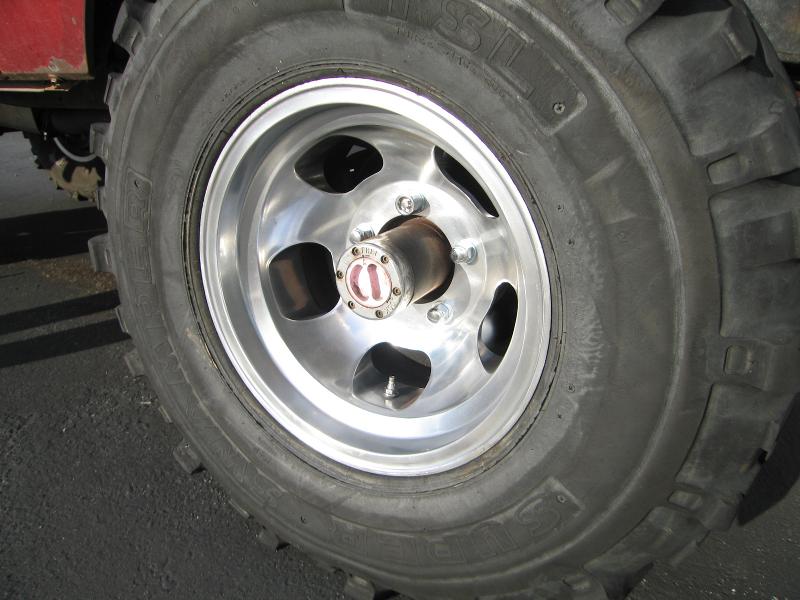
Figure 35. Close Up!
Last updated November 20th, 2010 - Copyright Enfinicorp.
Page maintained by: benkokes@hotmail.com